A database is one of the key components in a software system and thus, has to be designed with utmost care. If you have only a limited knowledge of databases and MySql, creating your first database would be a bit challenging. This post is a quick guide to create your first database using MySql Workbench.

The post does not follow a specific software designing architecture but rather gives some general guidelines, and assumes that you have MySql and MySql Workbench set up in your machine.
1. Define the scope of your project
The size of your database depends on the scope of your project. Thus, decide on the specific components that you are going to implement in your system. It would be easier if you list the use cases that would be and would not be there in your system. As an example, if it is a system for handling patient information in one section in a hospital, decide if you are handling the payments of patients as well.
2. Design an Entity Relationship Diagram
An Entity Relationship Diagram (ERD) shows the entities in your database and their relationships between each other. In MySql Workbench, you can easily create an ER Diagram, and forward engineer it to create your database.
It is better if you have a rough sketch of your ERD before creating it on Workbench. To create a sketch,
- List out the main entities (or tables) that should be in your database. For instance, a system for a school needs to have tables such as student, teacher, administration, course, section and resource.
- Add suitable attributes to your tables. For a student table, the attributes would include student id, name, birthday, address and contact number.
- Choose the attribute or attributes that would be the primary key for each table. The primary key of a table is one or more attributes that can uniquely identify each record in the table. Two rows cannot have the same value for the primary key. In student table, the primary key would be the student id.
- Decide on the relationships between your entities. There can be three main types of relationships between tables; one-to-one, one-to-many and many-to-many. As an example, the relationship between student and teacher tables is many-to-many.
3. Create an ERD in MySql Workbench
To create an ER diagram, go to File > New Model in MySql Workbench and click on the Add Diagram icon. This
would open a new tab, EER Diagram.

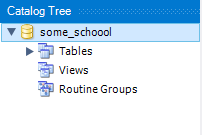
4. Change database name
Right click on the database name in Catalog Tree and change the name in the panel that appears.
Make sure you do not have spaces in your database (or schema) name, table names or attribute names. You can use
underscore character instead.
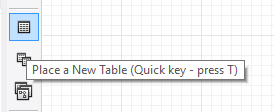
5. Add tables and Relationships
Now you can simply use the toolbar on left to create the ER diagram. Use Table tool to add a new table.
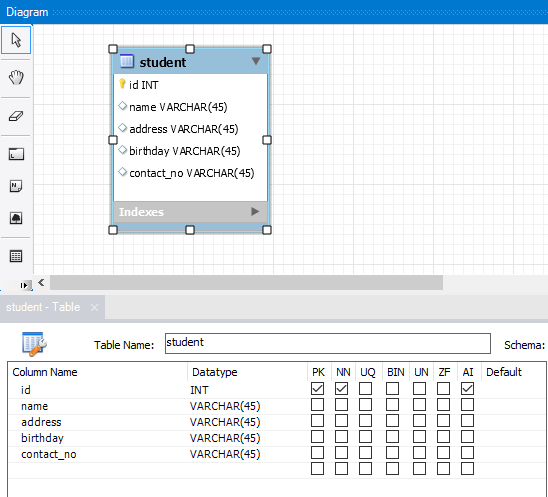
Double click on the table name to get the panel where you can change table name and add attributes to the table.
In the panel, the following column flags can be specified for attributes. PK – Primary Key NN – Not Null UQ – Unique Key BIN – Binary UN – Unsigned ZF – Zero Filled AI – Auto Increment
Add relationships using the toolbar. Click on a relationship icon and click on the two tables that you want to connect.
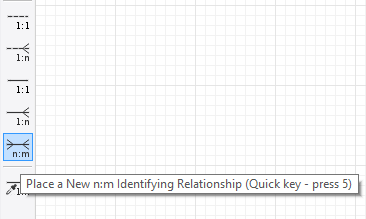
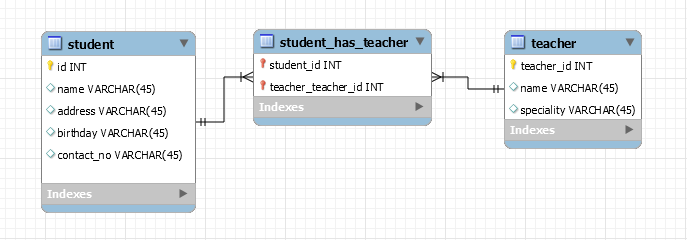
If it is a many-to-many relationship, the connection would automatically generate another table containing the primary keys of the two tables. These attributes on the new table reference the other two tables, and are called foreign keys. Adding relationships generate foreign keys.
A foreign key is an attribute that can uniquely identify a record in another table. Here, a primary key value that is not there in the student table cannot be in the studentid column in the studenthas_teacher table. You can change the name and add attributes to this new table as well.
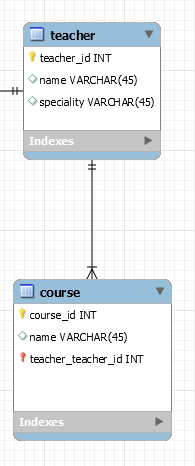
If it is a one-to-many relationship, first click on the table on the many side. This would create a foreign key in the table in the many side referencing the other table.
6. Create a database from the ER Diagram
After creating the complete ER Diagram, re check it for any corrections and save it.
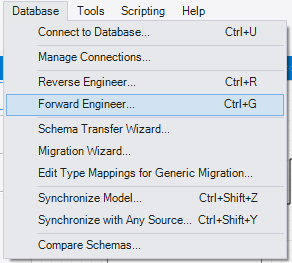
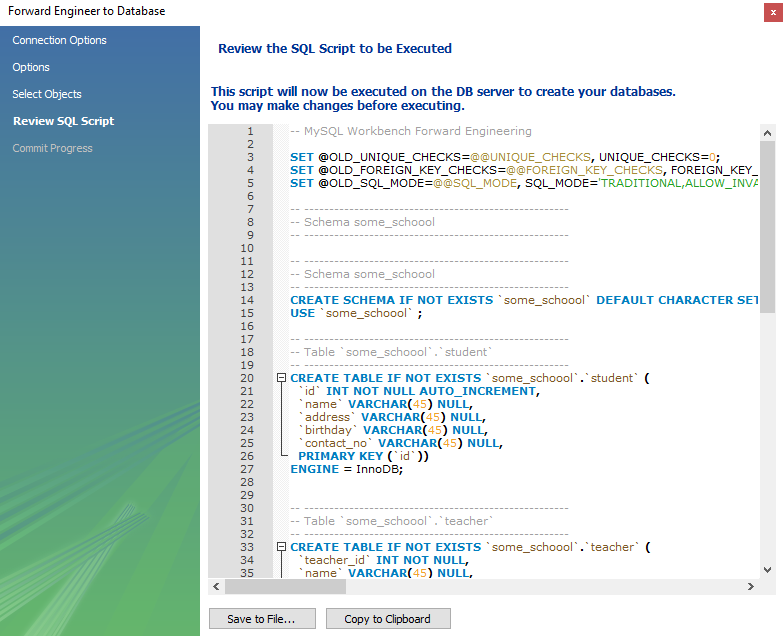
Then select Database – Forward Engineer to create the database.
Specify your MySql Connection details (username and password) and click Next. You can also save the script of your database to a file for later reference.
Go to your connection tab, and refresh the Navigator panel. You would see your new database there. Double click on it to make it your default database.
Happy coding with SQL!